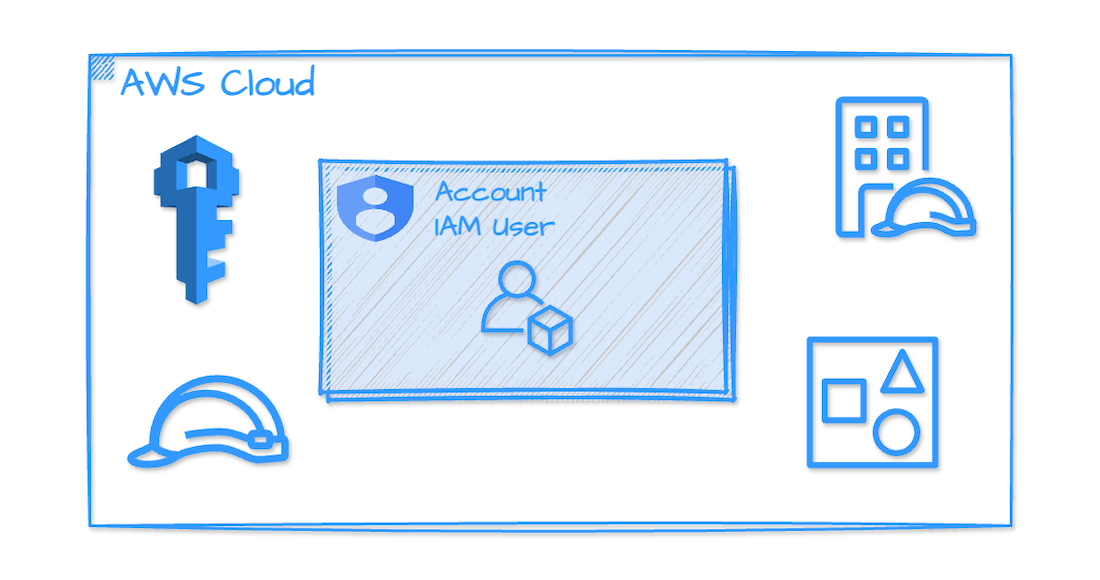
Amazon Web Services (AWS) is a cloud-computing service that is widely used around the world. It provides over 200 fully-featured services from data centers globally. Millions of customers, including the fastest-growing startups, largest enterprises, and leading government agencies, are taking advantage of AWS to lower costs, become more agile, and innovate faster.
Cloud computing refers to the on-demand delivery of computing power, database, storage, applications, and other IT resources through a cloud services platform, accessible over the internet, with pay-as-you-go pricing. A cloud services platform offers rapid access to flexible and low-cost IT resources, that can be used to build and maintain software and databases, and create applications that meet customer needs. You no longer need to make large upfront investments in hardware or spend a lot of time managing that hardware. You can access as many resources as you need, almost instantly, and only pay for what you use.
This is why it's worth to have an account on this platform. Don't you think? ;)
AWS Account Creation
So let's do this! Search for aws
on Google and after getting to the AWS website, click on My Account at the top and select AWS Management Console. On the next page, click on Create a new AWS account. Enter your email address and choose a name for your account. Click on Verify email address. Now, go through the registration process by providing your personal details, including your address and bank card information. You'll also need to complete some verification steps. Finally, select the Basic support - Free plan and click on Complete sign-up.
After successfully registering, click on Go to the AWS Management Console or select AWS Management Console under My Account at the top. On the Sign In page, enter your Root user email, then password, and click Sign in.
Great, now we have an access to the AWS console.
AWS Account Usage Best Practice
It is important to avoid using the Root account that is created by default because it is not considered best practice and could result in financial losses if it falls into the wrong hands as it has all permissions. Instead, it is recommended to create admin users for safer account usage.
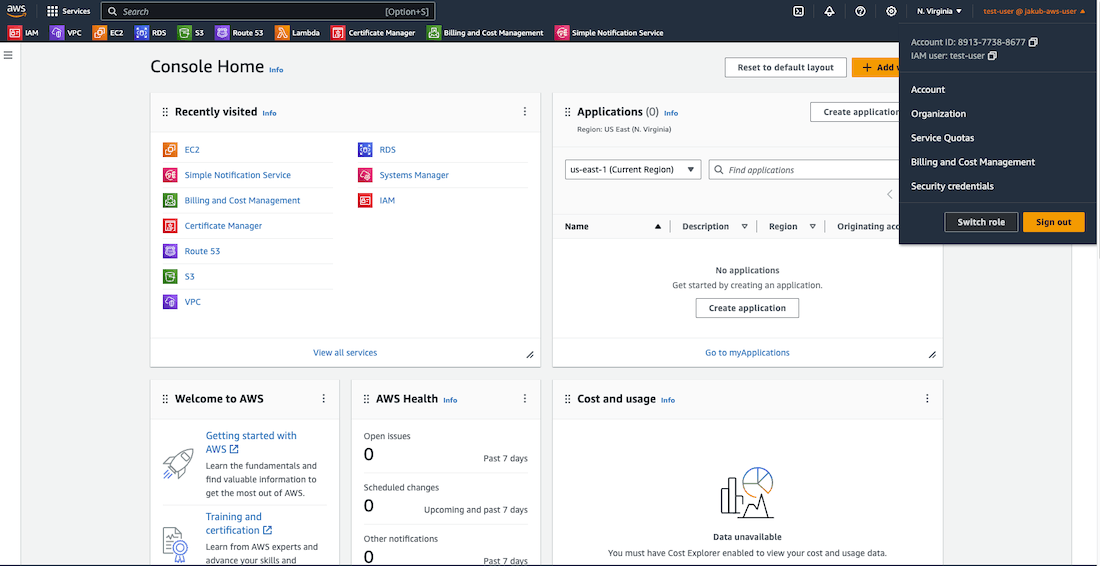
Furthermore, note that clicking on your account name in the top right corner will display your Account ID, indicating that you are currently signed in as a Root user, which is not desired.
We are going to use the User created with the help of IAM service, which stands for Identity and Access Management. IAM is a Global service that is available everywhere. With IAM, you can create new users as well as groups that users can belong to. Additionally, it is necessary to create policies that can be assigned to Groups or Users. Policies define user permissions. In AWS, the least privilege principle is generally applied, ensuring that the user has only the necessary permissions to accomplish their tasks.
IAM User
Okay, let's then proceed with the creation of a new IAM User.
Start by searching for iam
in the search bar and selecting IAM. Once you're on the IAM Dashboard, click on Users on the left-hand side menu. On the next page, you'll see an option to Create user. Click on it.
Now, you need to provide a username for the new user and check the option to provide access to the AWS Management Console. You'll also need to select the creation of an IAM user and set a password. Additionally, you can uncheck the option to create a new password at the next sign-in - this option is helpful when creating a user for someone else. Once you've filled in all the details, click on Next.
On the Set permissions page, click on Create group. Enter a name for the group and check the first policy for AdministratorAccess. Click on Create user group. Now, you need to add the newly created user to the admin group that you just created. Check the box next to the admin group and click on Next. On the next page, review all the details and click on Create user. On the final page, you can check your password and save it somewhere if needed. Once you're done, click on Return to users list to go back to the Users panel where you'll see that the new user has been created.
Alias and IAM User Sign In
One last thing before we proceed with signing in as an IAM User, is to create an Alias for our account to avoid remembering the Account ID number. To do this, we have to go back to the Dashboard panel and click on Create under Account Alias. Next, we should choose our preferred alias and press the Create alias button.
After creating the alias, we can sign out by clicking on our account name on the top-right corner of the page and selecting Sign out. Once we are back on the Sign in page, we can choose the IAM user sign-in method, enter our alias, and click on Next. On the next page, we must provide our IAM user name and Password, and then click on Sign in.
By doing so, we will successfully sign in as the IAM user. We can confirm this by checking the top-right corner where it should state that we are signed in as the IAM user.
That's it, thanks for reading.


